
Making a big hole in Minecraft starts with choosing the size, depth and method. A pit for a building foundation needs different planning from a deep mine or an underground room. In Survival, take a suitable pickaxe, food, torches and a way back to the surface. Mark the perimeter before you start, then remove one horizontal layer at a time so you can see what is beneath you. Avoid standing on the exact block you are breaking when digging downward; an unseen cave or lava pocket can turn a simple excavation into a fall. Leave a staircase or another reliable exit as the pit grows. Ordinary stone and dirt do not need retaining walls to stop a real-world-style collapse, but falling blocks, fluids and hidden openings still deserve attention. In a Creative world or a world where you have command permission, a small, carefully checked fill command can save a lot of manual clearing.
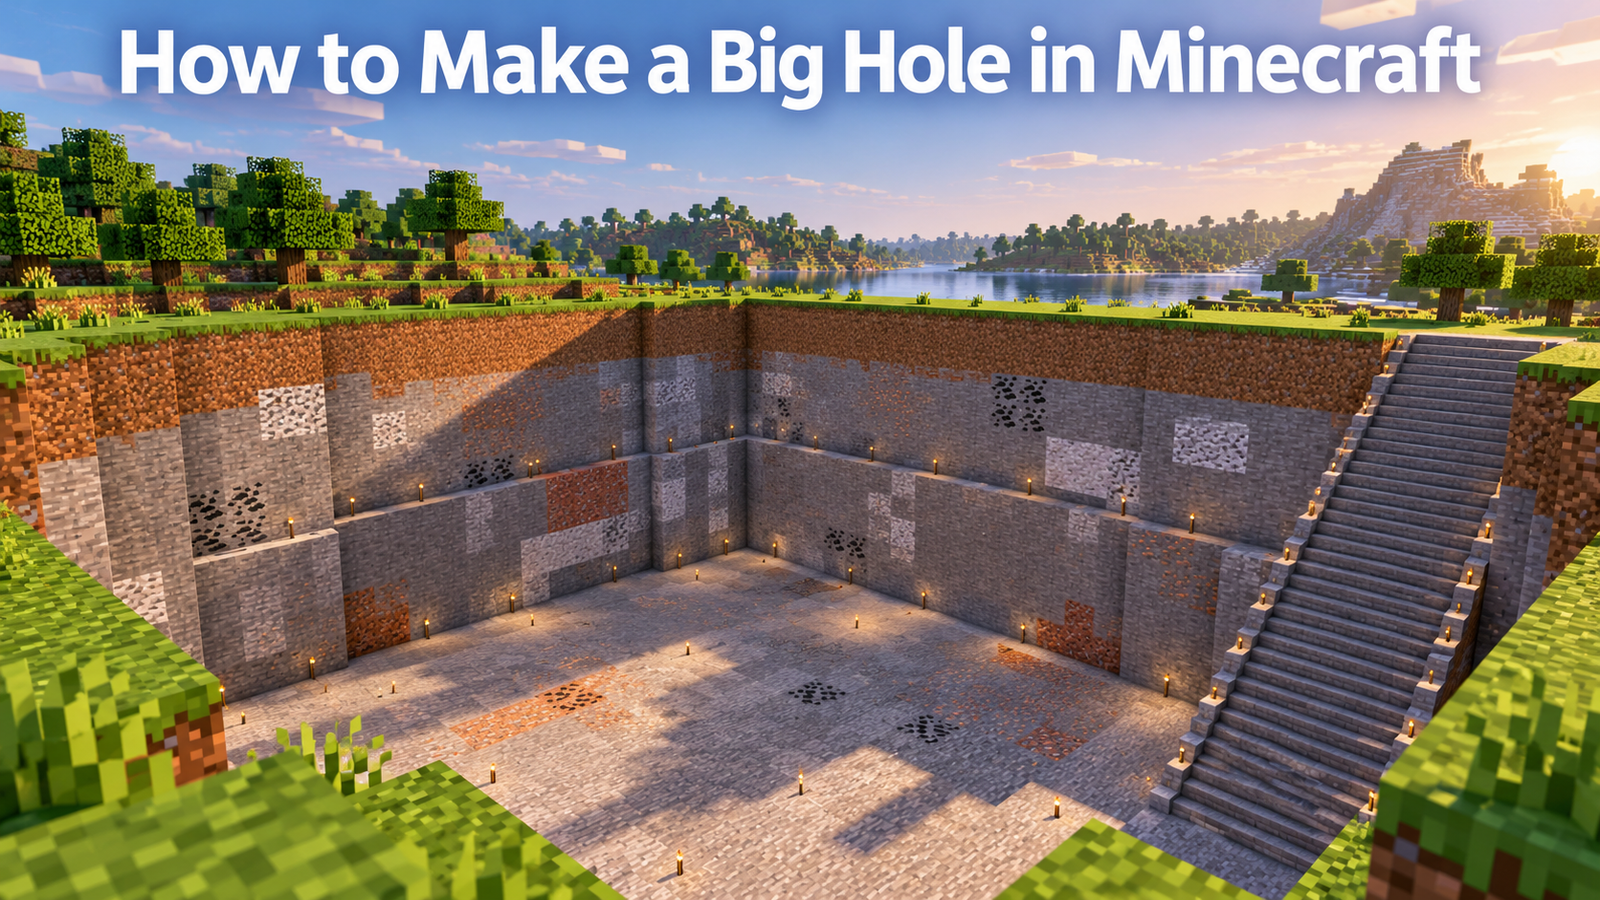
Before expanding the excavation, stand back and check the shape. A straight perimeter is easier to follow than an irregular opening, and a marked surface edge helps you avoid accidentally removing the floor of a nearby building. Keep useful blocks in a chest outside the work area. You can use the stone and dirt you collect later to build walls, create access stairs or refill parts of the pit.
- Mark the width and length at the surface.
- Prepare tools, lighting, storage and an exit.
- Clear one layer at a time, watching for caves and fluids.
- Recheck the perimeter and depth before expanding.
- Finish the floor and access route before building inside.
Step-by-step: dig a big hole in Survival
Use this method when you want to collect the removed materials and keep command cheats out of the project. A practical first excavation is a modest rectangle that you can finish, inspect and expand later. Decide the purpose before deciding the depth: an underground room needs usable floor space, while a quarry is mainly about removing and collecting blocks.
1. Measure and mark the footprint
Mark the four corners with visible temporary blocks. Count the spaces you intend to remove, then walk the perimeter once. Check nearby houses, farms, paths and redstone builds before digging. Leave room for an entrance outside the excavation rather than discovering halfway through that your staircase occupies the whole room. A 10-block-wide by 10-block-long hole is a manageable planning example; it is not a required game setting.
2. Prepare a work area and an exit
Put storage and spare supplies on stable ground outside the edge. Bring a pickaxe for stone, a shovel for dirt or gravel, food, torches and blocks for closing unwanted openings. Keep important spare equipment away from the pit. Reserve one edge for an access staircase before starting the second layer. Make enough headroom along the route to travel comfortably and keep that route connected to the surface as you dig deeper.
3. Clear one horizontal layer
Work across the marked rectangle from a stable position. Remove the surface layer first, then inspect the next layer instead of opening a deep shaft beneath your feet. Use the right tool for the block you are removing. Move around the working edge rather than standing on a block that might open into a cave. If the next layer reveals an opening, stop and look into it before walking forward.
4. Handle caves, falling blocks and fluids
Do not treat an exposed cave as a finished floor. Mark or block an opening until you are ready to inspect it. Sand and gravel can fall when support is removed, so clear them with room to step back. If water or lava enters the work area, stop extending the pit and address the source or separate it from your excavation. Use ordinary blocks to establish a controlled boundary; do not rely on a hurried bucket action as your only escape plan.
5. Check supplies between layers
Deposit materials before the inventory becomes awkward to manage. Check tool durability and return for replacements while the route is clear. Replenish lighting as the hole grows. Keep the surface edge obvious so another player does not accidentally walk into the opening. On a shared world, explain the project and use the server’s building rules before changing communal land.
6. Finish the shape before decorating
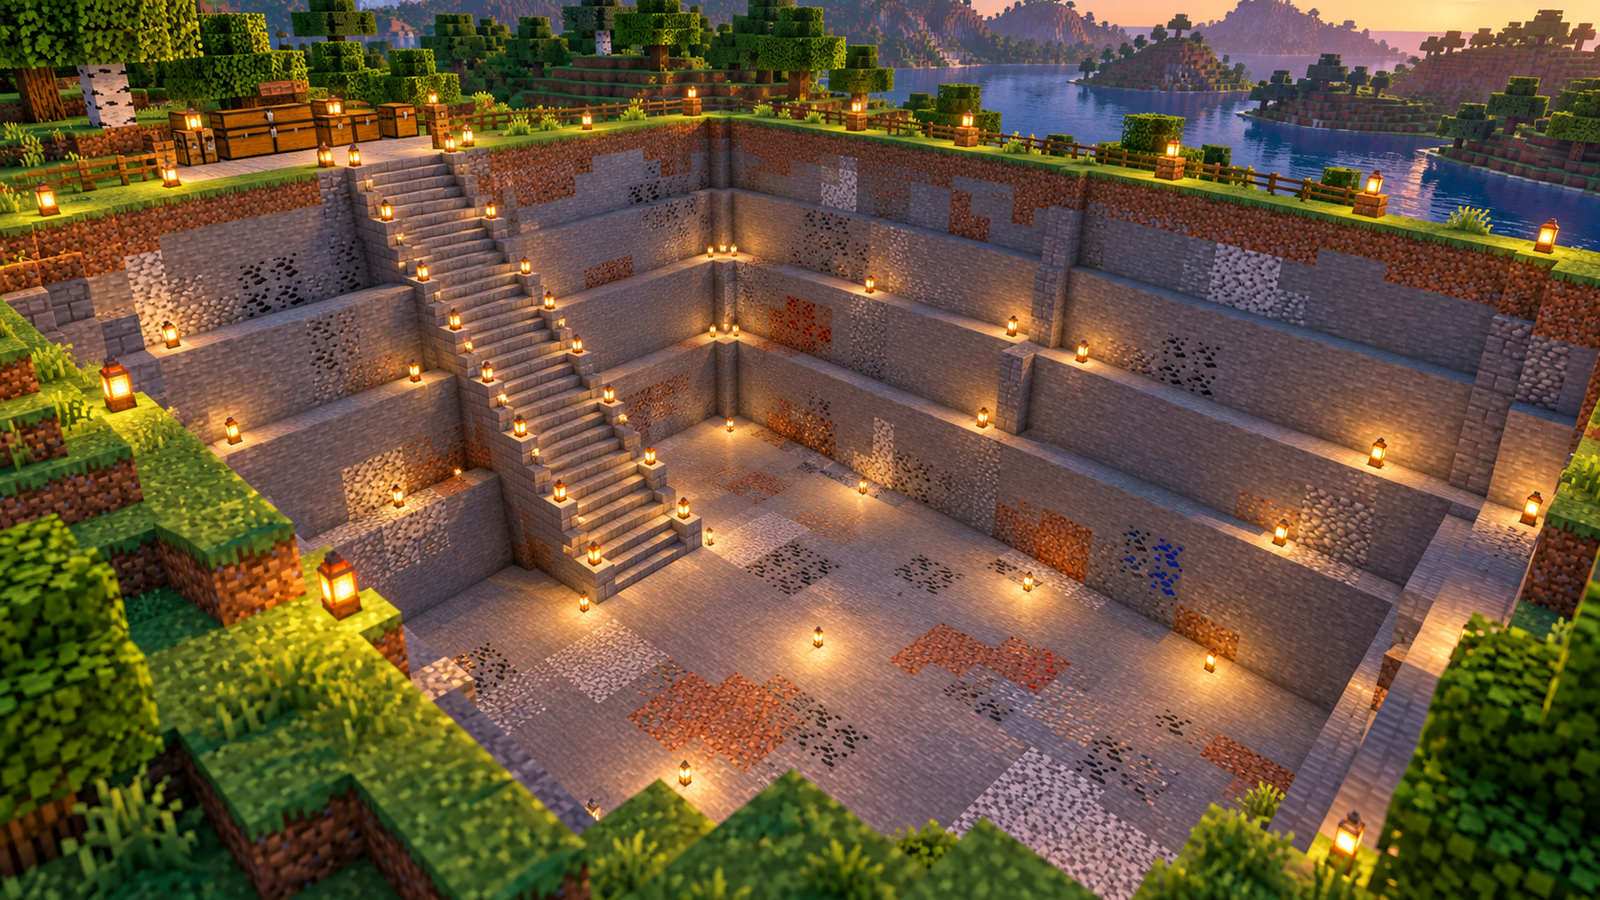
When the target depth is reached, check the corners, floor and access route. Remove accidental ledges carefully and close openings that do not belong in the design. Decide where the walls and final floor will go before adding decoration. Leave an access route available while placing those blocks. A straight excavation is easier to turn into an underground room when its usable dimensions were planned from the beginning.
Understand the coordinates before using /fill
A fill region is a box between two opposite corners. Each corner has X, Y and Z values: X and Z locate the horizontal position, while Y identifies height. The endpoints are included. That means coordinates from 10 through 12 span three blocks, not two.
Width = |X2 − X1| + 1
Height = |Y2 − Y1| + 1
Length = |Z2 − Z1| + 1
Volume = width × height × length
The example 10 60 10 to 12 62 12 selects 3 × 3 × 3 = 27 block positions. This is a calculation, not a performance measurement.
Record the intended corners while looking at the target area. Do not copy another player’s numbers into your world and expect them to describe your build. Negative coordinates are normal, but a missing minus sign can move a corner to a different location. Absolute coordinates are easier to review for a beginner’s excavation than a command tied to the player’s changing position.
A planned 10 × 10 × 5 excavation example
If your intended region really runs from X=10 to 19, Y=60 to 64 and Z=10 to 19, this command targets 500 positions:
/fill 10 60 10 19 64 19 airThese numbers are examples only. Check your own location and surroundings first. The command removes the selected box; it does not automatically create an entrance, light the interior or protect buildings. Stand outside the box on stable ground before running it. We have not executed this example in your world.
Java and Bedrock: choose the correct setup
The basic two-corner fill-with-air pattern is a useful starting point in both editions, but permissions, supported options and operation limits depend on the version and server. Bedrock’s official reference identifies /fill as requiring cheats and the appropriate permission. In Java, check your world’s command access or ask the server administrator. Do not enable cheats in a valued achievement world just to follow a tutorial; check the consequences for your edition and use a copied test world first.
Use in-game command suggestions for your installed release. Avoid adding old numeric block-data arguments from an unrelated tutorial. Extra modes and filters are not needed for the basic example here. Keep the first test small and use the game’s feedback to decide the next step.
If the fill command fails
| Problem | Next check |
|---|---|
| Permission denied | Check command access or ask the world owner. Changing coordinates does not grant permission. |
| Too many blocks | Split the project into smaller boxes or thinner layers. Do not assume one limit applies to every version. |
| Position outside the world or unavailable | Check height, dimension and whether the target area is loaded. |
| Syntax error | Check all six coordinate values, spaces and the block name; use in-game suggestions. |
| Wrong area removed | Stop further edits and restore the saved world copy. Do not assume a universal undo command exists. |
For a larger project, keep a written list of completed sections and stop to inspect each one. Clearing several small boxes is easier to review than deleting an enormous region in one operation. A normal fill-with-air operation should not be treated as a way to collect all the blocks you removed. Use manual Survival mining when collecting those resources is part of your goal.
How Do You Make the Biggest Hole in Minecraft?
There is no single best size for every project. Start with the footprint of your planned build, then allow extra room for entrances, walls and any equipment you intend to place underground. For a Survival project, a smaller trial pit is a good way to estimate the time and tools you need. In Creative, you can remove blocks manually without planning for tool durability. Commands are a separate option when you have permission to use them. They can clear a defined box, but they do not know which surrounding structures you meant to protect.
What is the Fastest Way to Dig a Big Hole in Minecraft?
The fastest practical method depends on your mode, permissions and the shape you need. For controlled Survival work, clear horizontal layers with a suitable pickaxe rather than tunnelling straight down. Repair or replace tools before they break, light the area as you work and keep an exit open. Moving collected materials into nearby storage helps keep your inventory usable. A staircase along one edge can make repeated trips less awkward than climbing out of an unfinished pit.
In Creative or a world with command permission, a fill operation is useful for a rectangular area. Check a small test region first. It is easier to spot the wrong corner in a small example than after deleting a large part of a build. Server permissions and version-specific command limits can affect what is allowed; follow the in-game error message rather than repeatedly trying a bigger operation.
TNT can remove terrain, but it gives less control over a clean rectangular outline. It can also damage nearby work or expose hazards you did not see. Use manual mining when preserving the surrounding area matters. Water is useful for some building tasks, but filling an area with water and removing it does not excavate the solid terrain underneath. Choose the method that gives you the result you actually need, rather than adding unnecessary steps.
What is the Command to Fill a Hole in Minecraft?
The /fill command can put blocks into a rectangular region as well as clear it. It needs two corners, each with an X, Y and Z coordinate, followed by the block type. For example, /fill 10 60 10 12 62 12 dirt fills the selected 3 × 3 × 3 region with dirt. Check that the region is yours to edit and make a backup before replacing terrain. For a small irregular hole, placing blocks manually may be simpler. Do not run a fill operation across a building, storage area or other structure you want to keep.
How Do You Fill a Large Area With Air in Minecraft?
To clear a rectangular space with commands, choose air as the fill block. Use /setblock when you want to change a single block instead. These operations differ in scale; a single-block command is not a direct substitute for clearing an entire room. The official Bedrock fill command reference documents its arguments.
WorldEdit is a separate project with its own installation and compatibility requirements. If you already use it, follow the documentation for your installed version. It is not a feature you can assume every vanilla Minecraft world has. For this guide, start with the built-in method appropriate to your world; you do not need to buy a game, accessory or paid editor to perform ordinary excavation in a copy of Minecraft you already own.
Read More: How to Get Fortune 3 Minecraft?
How to Make a Big Hole in Minecraft With a Command?
Small command example
With command permission, stand outside the target area and check both corners. This example targets a 3 × 3 × 3 region:
/fill 10 60 10 12 62 12 airCoordinates identify two opposite corners, not three dimensions. Replace them with your intended corners. Back up the world and try a small test before a large excavation. If your version or server rejects the operation, read its error and check permissions, coordinates and limits.
| Method | Good fit | Main limitation |
|---|---|---|
| Survival mining | Controlled clearing while collecting materials | Time, tool durability and hidden hazards |
| Creative clearing | Small areas and fine adjustments | Large areas still require repeated actions |
| Fill with air | A clearly defined rectangular region | Permission needed; wrong coordinates remove the wrong blocks |
Existing walkthrough: Open the originally linked video on YouTube. Check its edition and version before following it.
Conclusion
A useful big hole is one that fits your build and still lets you move around safely. Mark the area, work in layers and keep an exit available. If you use commands, choose two corners and test a small region before changing a larger one. Breaking a block of obsidian does not create a large pit; the excavation comes from removing the blocks that occupy the space. Before building inside the opening, check for exposed caves, flowing fluids and uneven edges. Keep a backup of important worlds so an accidental edit does not become your only saved version. Once the shape is ready, plan the floor, entrances and lighting before adding the rest of your build.
Frequently asked questions
Can I dig a big hole without commands?
Yes. Mark the rectangle and mine horizontal layers in Survival, keeping tools, lighting, storage and an exit ready.
Does adding water remove the ground?
No. Adding and removing water does not excavate the solid terrain underneath it.
Can I undo a mistaken fill command?
Do not assume a universal undo feature. Preserve a world copy before the edit and restore that copy if necessary. A server or installed editor may have its own recovery tools.
Do I need a paid accessory or editor?
No. Use the ordinary mining or permitted command features in the Minecraft edition you already own.
Official references: Bedrock fill command; Minecraft exploration guidance.
3 thoughts on “How to Make a Big Hole in Minecraft?”
Comments are closed.