
MINECRAFT • STORAGE & AUTOMATION
Let a hopper do the moving
Quick answer: Place a hopper with its outlet pointing into a chest. Feed it from above using dropped items or a container. Leave it unpowered: a redstone signal locks a hopper instead of starting it.
Build a small collector first, test it with a few cheap items, then expand your storage.
Learning how to automatically put items in a chest in Minecraft starts with a simple hopper setup. You do not need a complicated sorting machine for basic collection. A small, visible build is easier to understand, cheaper to experiment with and much easier to fix when an item goes somewhere unexpected.
This guide covers a starter collector, a chest-to-chest transfer station and a practical troubleshooting routine. It also explains the limits of automatic storage. A nearby chest does not magically empty your player inventory, recover distant death drops or sort every item by type. Those goals need additional systems and, in some cases, features outside vanilla gameplay.
Choose the storage job before building
First decide where the items will come from and where you want them to end up. Are you dropping cobblestone into a collection point? Emptying an input chest after a mining trip? Collecting output from another machine? These are related tasks, but they are not the same build. Naming the source and destination prevents a lot of confusion.
| Your goal | Good starting point | What to remember |
|---|---|---|
| Collect loose drops | Open hopper feeding a chest | Items must reach the collection point |
| Move stored items | Input chest above a hopper | Keep valuables out of the input box |
| Collect a machine’s output | Dedicated output line | Check the machine’s own rules |
| Separate item types | An edition-compatible sorter | A plain hopper is not a filter menu |
| Empty player inventory remotely | A different workflow or approved add-on | Basic hoppers do not pull directly from players |
For your first attempt, choose the loose-item collector. Build it somewhere open and away from other redstone. Use a block you can afford to lose for testing. Once you see one item move successfully, you will have a working reference to compare against your larger storage project.
Materials for a simple hopper collector
You need a destination chest, a hopper and a crafting table if you are making the hopper in Survival. The hopper recipe uses five iron ingots and one chest. That recipe consumes its chest, so prepare another chest for the final storage destination. In Creative, select the finished blocks from the inventory instead.
Gather a few ordinary test items as well. Dirt or cobblestone is a better first test than a rare tool or a named item. Keep your building supplies in a separate part of your inventory so you can count the test batch clearly. You should know exactly what entered the system and where it ended up.
Leave room to open the destination and inspect the hopper. A compact design can look attractive, but covering every component before it works makes diagnosis harder. Treat the first version as a demonstration model. Decoration, walls and extra storage can come after you understand the route.
How to automatically put items in a chest with a hopper
1. Place the destination chest
Choose an accessible spot. Keep the lid area clear and leave enough room beside or above the chest for placement. Start with an empty destination so an unexpected item is easy to spot.
2. Aim the hopper into the chest
Hold the hopper, use your Sneak control and place it against the chest. Inspect the narrow outlet: it should face the intended destination. The placement control varies by keyboard, controller or touch settings, so use your configured Sneak action.
3. Add a small test batch
For a loose-item collector, drop a few cheap items onto the hopper’s open top. You can also insert items into the hopper inventory to test the outgoing route separately. Use a small, counted batch.
4. Check the destination
Open the chest after allowing transfer time. Compare its contents with the test batch. If nothing arrived, inspect the hopper before replacing the whole build. An item sitting inside it narrows the problem to the outgoing route.
The useful distinction is between collecting an item and moving it onward. If the item never reaches the hopper, investigate the collection point. If it reaches the hopper but stays there, investigate its destination, available storage and any redstone power. Separating these checks keeps troubleshooting focused.
Do not feed your entire mining haul into an untested system. A small test is enough to establish whether the route works. After that, run a larger batch while staying nearby and watching the destination. Keep the original test layout visible until you are confident that your new arrangement behaves the same way.
Build a chest-to-chest drop-off station
An input chest is convenient when you return from mining with several kinds of materials. Instead of throwing every stack onto a collection point, you can deliberately deposit the items you want transferred. Keep this box clearly labeled so you do not confuse it with long-term storage.
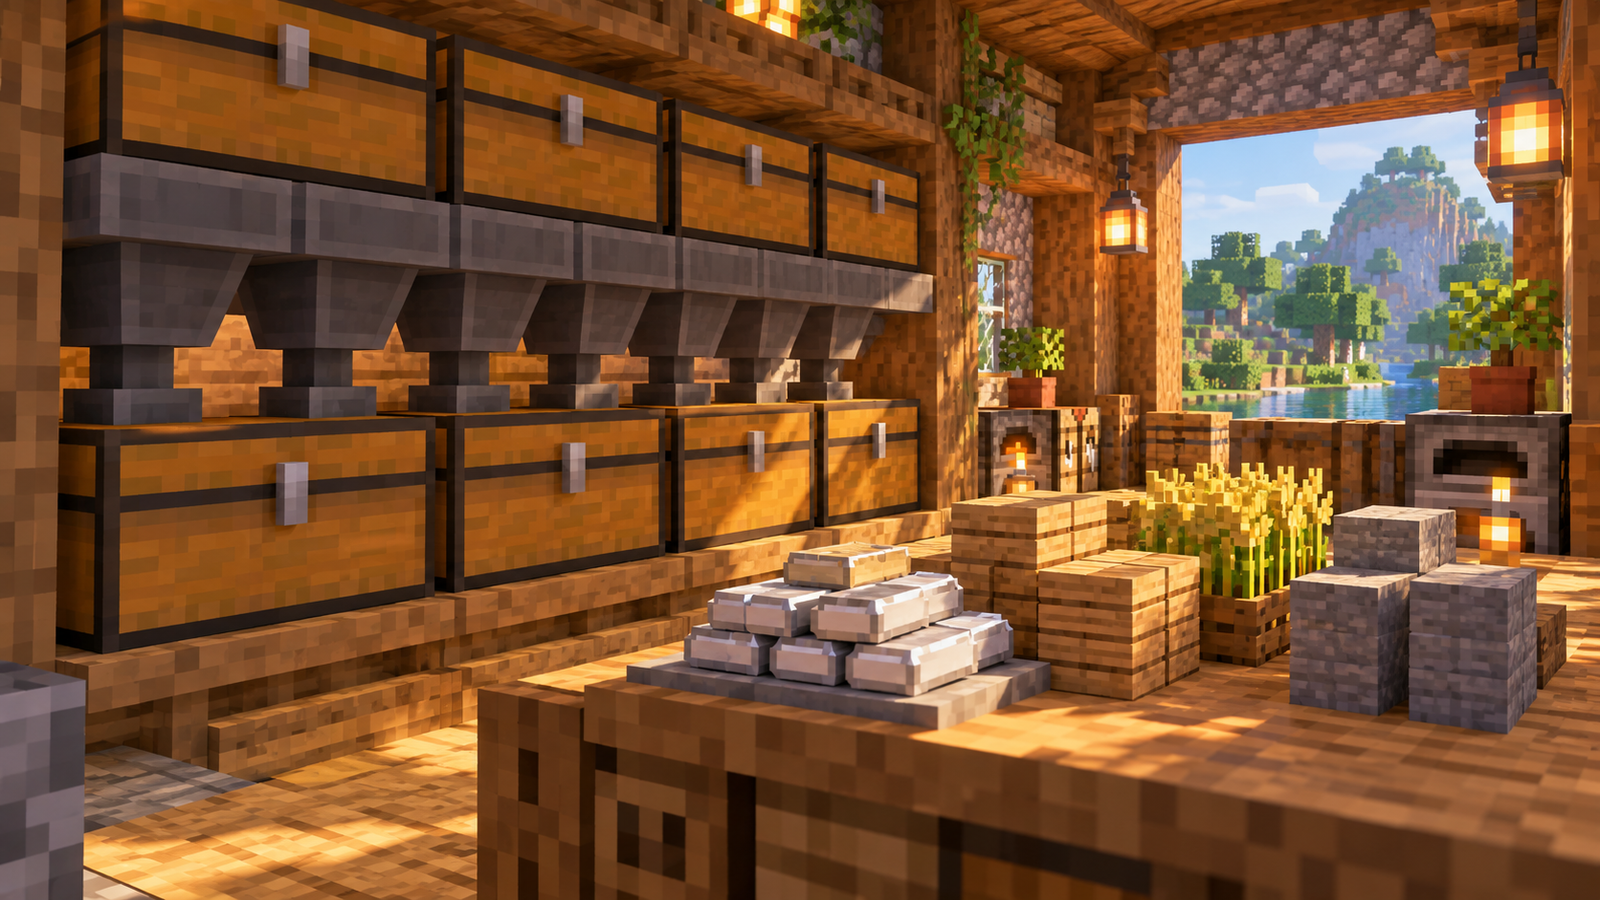
A basic vertical arrangement has the input chest at the top, a hopper underneath and the destination chest below the hopper. The input supplies items from above while the lower chest receives the output. Use your working collector as the starting point rather than building a hidden room from scratch.
Test the station with one recognizable item type. Then try a mixed batch and inspect both containers and the hopper. Your game version, server rules and optional modifications can affect more complex systems.
Keep valuables in a separate chest that is not connected to the transfer line. Labeling an input chest “Drop-off” is helpful, but labels do not change how the machine works. Anyone using the input must understand that its contents are intended to move. On a shared server, explain that rule before inviting others to use the station.
Redstone is a pause control, not a starter motor
A powered hopper is locked. For an ordinary transfer route, you do not need to attach a clock or power source just to make it operate. If a simple collector stops after you decorate the room or add another circuit, check whether the changes introduced power near the hopper.
This behavior is useful when you intentionally want a pause. For example, you might stop the route while inspecting an input batch or changing the storage destination. Use a clear label for any switch you add, and verify both positions with test items. Do not assume “lever on” means “storage on.”
Keep the first build away from powered blocks, redstone torches and neighboring machines. This is a testing recommendation that reduces ambiguity. Once it works in isolation, add your planned controls individually. If a change breaks the route, you will know which addition to examine first.
If you follow a tutorial with a redstone filter, its hopper locking may be intentional. Removing all of that wiring could destroy the filtering behavior. Compare the tutorial’s purpose with your goal: a plain transfer line and an item sorter use some of the same components for different jobs.
A plain hopper does not automatically sort item types
Vanilla hopper storage does not include a “Filter Items” settings menu. A transfer line can move a mixed batch into the same destination. Separating iron, cobblestone, wood and other materials requires an actual filtering design or a different supported system. Naming a chest “Iron” does not make it reject other items.
Start with manual categories if you are still learning. A row of labeled storage boxes can be easier to maintain than a machine you cannot diagnose. Use an automatic drop-off chest for temporary unloading and organize its contents when convenient. You can improve the system later without pretending the first version already does everything.
When you are ready for a sorter, choose a tutorial that explicitly matches Java or Bedrock and your release. Read its overflow instructions and supported item types. Reproduce one module in a test area before building a large wall. A clear small success is a better foundation than an expensive copy that only partly works.
The older sorting video is linked under references below. Its title targets older releases, so treat it as background rather than a promise of current cross-edition compatibility. Advanced redstone instructions deserve a version check even when the basic hopper concept remains familiar.
Troubleshooting: why items are not reaching the chest
| What you observe | What to inspect | Next action |
|---|---|---|
| Items stay on the floor | Whether they actually reach the hopper | Try dropping one directly onto its open top |
| Items stay inside the hopper | Outlet, destination room and power | Test the outgoing route with a single item |
| The wrong chest fills | Every connected hopper outlet | Trace the route one component at a time |
| Transfer stops after a while | Storage capacity along the route | Inspect the final chest before adding more input |
| An advanced tutorial fails | Edition, release and server modifications | Compare with a simple local test build |
Inspect the outlet from the side
Do not judge hopper direction only from its top opening. Look at the narrow output end and compare it with the destination you intended. If the route is enclosed, temporarily expose it carefully. Photograph or note the layout before changing a component so you can restore the original arrangement.
Check the destination before the input
A transfer system cannot create unlimited storage. Inspect the receiving chest and check whether the incoming item has somewhere to go. A box that looks only partly filled may still be awkward for a mixed batch if the remaining stacks cannot accept those particular items. Test with an empty destination when you want to remove that uncertainty.
Change one thing at a time
Replacing several hoppers, moving the chest and removing wiring together makes it difficult to identify the real cause. Instead, record the symptom, make one change and run the same small batch again. Keep a note of successful changes. This method is especially helpful when you are learning from a video while adapting the layout to your base.
Compare local and server behavior
If the simple build works in a separate vanilla world but fails on your server, ask about server rules, permissions or installed plugins. Do not immediately assume the game needs another purchase or that your account is broken. Give an administrator a useful description: edition, version, layout and the exact point where the item stops.
Plan for overflow before connecting a farm
Choose a destination you can inspect easily. A collection box hidden far below a farm may look tidy, but it is inconvenient when you need to check capacity. Put a visible sign or access path near the output and make emptying it part of your normal routine.
Before connecting a steady stream of items, decide what you will do when storage fills. You could expand the capacity, pause the source or redesign the collection route. Avoid destructive disposal mechanisms while learning. Valuable items can enter a mixed stream by mistake, and a clear recovery path is preferable to a hidden loss.
Use a realistic test batch for the job. A few pieces of cobblestone prove that the route exists; a larger mixed batch helps you evaluate the storage workflow. Stay nearby, inspect each stage and confirm you can retrieve the output comfortably. Do not infer long-term reliability from a single item arriving successfully.
Keep maintenance simple. If several players use the station, identify who empties the destination and which input belongs to which task. Clear ownership and labels prevent everyday confusion that no redstone circuit can solve. Build only the complexity that your actual storage needs justify.
Make the storage room easy to use
Leave a walkable space in front of the destination and put the drop-off box where you naturally return to your base. Group storage by your routine: building materials near a workshop, food near a kitchen and spare equipment near the exit. An automatic route is most useful when its endpoint is convenient.
If you want a different visual style, our Minecraft texture-pack activation guide explains how to apply compatible resources. Appearance changes do not replace the mechanical checks in this article. Verify the build before you decorate around it.
For players choosing a copy for someone else, see our Minecraft gift guide. Edition and device compatibility matter when buying the game; they are separate from whether a hopper’s outlet points into the correct chest.
Frequently asked questions
Do hoppers need redstone power to move items?
No. An ordinary hopper operates without an activating power source. Redstone power locks it. Check for unintended power if a simple route suddenly stops.
Can a hopper take items directly from my player inventory?
No. Basic vanilla hopper collection does not remotely empty a player’s inventory. Deposit items into an input container or drop selected items at the collector deliberately.
Why does placing the hopper open the chest instead?
Use your configured Sneak control during placement. Keyboard, controller and touch controls differ, so check your settings if the usual placement action keeps interacting with the chest.
Does a hopper have a Filter Items menu?
Not in ordinary vanilla gameplay. An item sorter uses an additional design, and some mods or plugins can provide different interfaces. Do not follow a vanilla tutorial that assumes a built-in filter menu.
Will this collect drops from anywhere in the world?
No. The item must reach the collection route. A chest at your base does not automatically retrieve mining drops or belongings from a distant death location.
Does the starter idea work in Java and Bedrock?
Basic hopper-to-chest collection is a useful starting point in both editions. For advanced circuits, choose instructions that explicitly match your edition and version rather than assuming identical behavior.
Do I need to buy an add-on for basic chest automation?
No. The starter hopper setup uses ordinary game blocks. A paid license or add-on is not a troubleshooting fix for a misdirected outlet, a full destination or an unintentionally powered hopper.
References and your first build checklist
Mojang’s official hopper overview explains crafting, collection, transfer and redstone locking. Microsoft also lists the hopper’s states in its Bedrock block reference. These are useful starting references when distinguishing the basic block from an advanced machine.
The older automatic sorting video is retained as an optional reference. Check its edition and release before copying a complete sorting system into your current world.
For the first build, keep an empty destination, a correctly aimed hopper, no unintended power and a small test batch. Verify the output before expanding. Then choose the next improvement based on your actual need: a convenient input chest, more storage or an edition-compatible sorter.