
Minecraft appearance guide
Change the look. Keep the armor you already own.
To change armor textures in Minecraft, use a resource pack made for your edition and game version. If you only want a colored pattern, try an armor trim instead. Leather armor can also be dyed. These are different tools: a texture pack changes artwork, while trims and dyes customize supported items within the game.
Affiliate disclosure: We may earn a commission if you buy through our GameSeal links, at no extra cost to you.
New to Minecraft? Compare game listings →Already own the game? Follow the free setup steps below. This link opens a Minecraft collection, not an armor pack. Check edition, device and activation country; choose a redeemable key for your own account, not an account product.
A pack preview can make armor look completely different, but downloading that pack is only the first step. You still need the correct edition, supported release and active pack configuration. It is also possible for a pack to replace the inventory icon without replacing the armor you see on a player. This guide helps you separate those situations before changing files or spending money.
Start with one question: do you want new artwork, a colored trim, or a different character outfit? Each has a different solution. Choosing the smallest change that gives you the result you want makes troubleshooting easier and keeps your existing world setup manageable.
Choose the right way to customize armor
Resource pack
Best when you want armor to use a different visual style. Confirm that the pack description includes equipped armor, not just items or blocks.
Armor trim
Best for a decorative pattern using Minecraft’s own smithing system. A trim changes appearance; it does not replace every texture in a world.
Leather dye
Best for changing the color of leather equipment. Dyeing is a narrower customization option than a complete armor texture replacement.
| Your goal | Start here | Check first |
|---|---|---|
| Different artwork on worn armor | Armor resource pack | Edition, version and armor coverage |
| Decorative outline or pattern | Smithing-table armor trim | Correct trim template and material |
| Different leather color | Leather dyeing | Edition-specific dyeing method |
| Different character clothes | Character skin | Whether armor will cover the skin |
| New armor abilities | Appropriate add-on or mod | Gameplay changes and server rules |
Quick answer: Renaming armor does not automatically change its texture in vanilla Minecraft. Some packs provide special effects under particular conditions, but those are features of that pack and its required setup. Do not assume an anvil rename works with every download.
Before you install: five checks that prevent mistakes
- Identify your edition. Read the game name in your launcher or start screen. A Windows computer can run different editions, so the operating system alone is not enough. Compare Minecraft Java and Bedrock if you are unsure which one you use.
- Record the exact release. Match the pack’s supported version to the version you actually launch. A tutorial made for an older release may show folders or assets that have since changed.
- Read the pack’s requirements. Look for dependencies, required settings and whether the download is a resource pack, mod, add-on or map. Treat a separate dependency as another installation decision.
- Back up before experimenting. Copy your world and keep a note of active packs. Use a separate test world first, especially when the download includes behavior changes as well as artwork.
- Check the source and license. Use the creator’s documented download route. Avoid unrelated installers, account-password requests and misleading download buttons. Permission to download does not necessarily include permission to redistribute edited artwork.
Keep the initial experiment small. Install one pack and inspect one armor type before adding several visual packs at once. If you change your version, shaders, pack order and world settings together, an unexpected result becomes much harder to explain. A short note such as “default game, one armor pack, iron chestplate” is often enough to make the test repeatable.
How to change armor textures in Java Edition
For a ready-made Java resource pack, use the game’s Resource Packs screen rather than guessing a system folder. Minecraft’s official Java texture instructions describe this menu-based route. The appearance of buttons can vary between releases, but the important distinction is the same: the pack must be available and then selected.
- Download a Java resource pack whose creator explicitly lists support for your release and the armor appearance you want.
- Open Java Edition, go to Options → Resource Packs, then choose Open Resource Pack Folder.
- Place the pack’s supplied archive in that folder, following the creator’s packaging instructions. Do not add an extra enclosing folder unless the instructions require one.
- Return to the Resource Packs screen and activate the pack. If several packs affect the same equipment, review their order and test with only the armor pack enabled.
- Apply the selection, enter your test world and inspect equipped armor. Check both the inventory view and the player’s worn appearance.
Do not ignore an incompatibility message simply because the pack loads. A partial result can be misleading: blocks might look correct while armor remains unchanged. If the creator does not support your version, find an updated release or stay with default textures until you have a compatible option.
If you use multiple launcher profiles, check which profile opened the folder. A pack installed for one configuration may not appear in another. There is no need to reinstall or repurchase the game before checking the active installation and selected pack.
How to change armor appearance in Bedrock Edition
Bedrock uses its own resource-pack system. A Java archive is not a drop-in Bedrock pack. Microsoft’s creator documentation describes the resource-pack manifest and folder structure; its official samples provide a better starting point than renaming an arbitrary Java download.
For a pack you already have installed, open the world’s edit settings and review Resource packs. Activate the intended pack for the world you are testing. Minecraft’s Add-On help documents this world-settings route. Some content includes both resource and behavior components, so read the creator’s instructions before deciding which components to enable.
On devices that support importing a creator’s pack, follow that pack’s documented import process and check the import result before opening a world. On a console, start with content and installation methods supported by the device and Minecraft’s own interface. Do not assume that desktop file-management instructions work on PlayStation, Xbox or Nintendo systems.
Marketplace previews deserve a careful look. A pack might focus on a themed world rather than the specific armor item you want to change. Read what is included and where the content can be used. A store listing, subscription or currency purchase is not proof that your desired armor texture is included.
Mobile players: Older tutorials may call the game “Minecraft PE.” Identify the edition and release installed now rather than selecting a download solely because it says PE. Confirm the supported device, import instructions and pack scope before using it.
Use armor trims when you only need a pattern
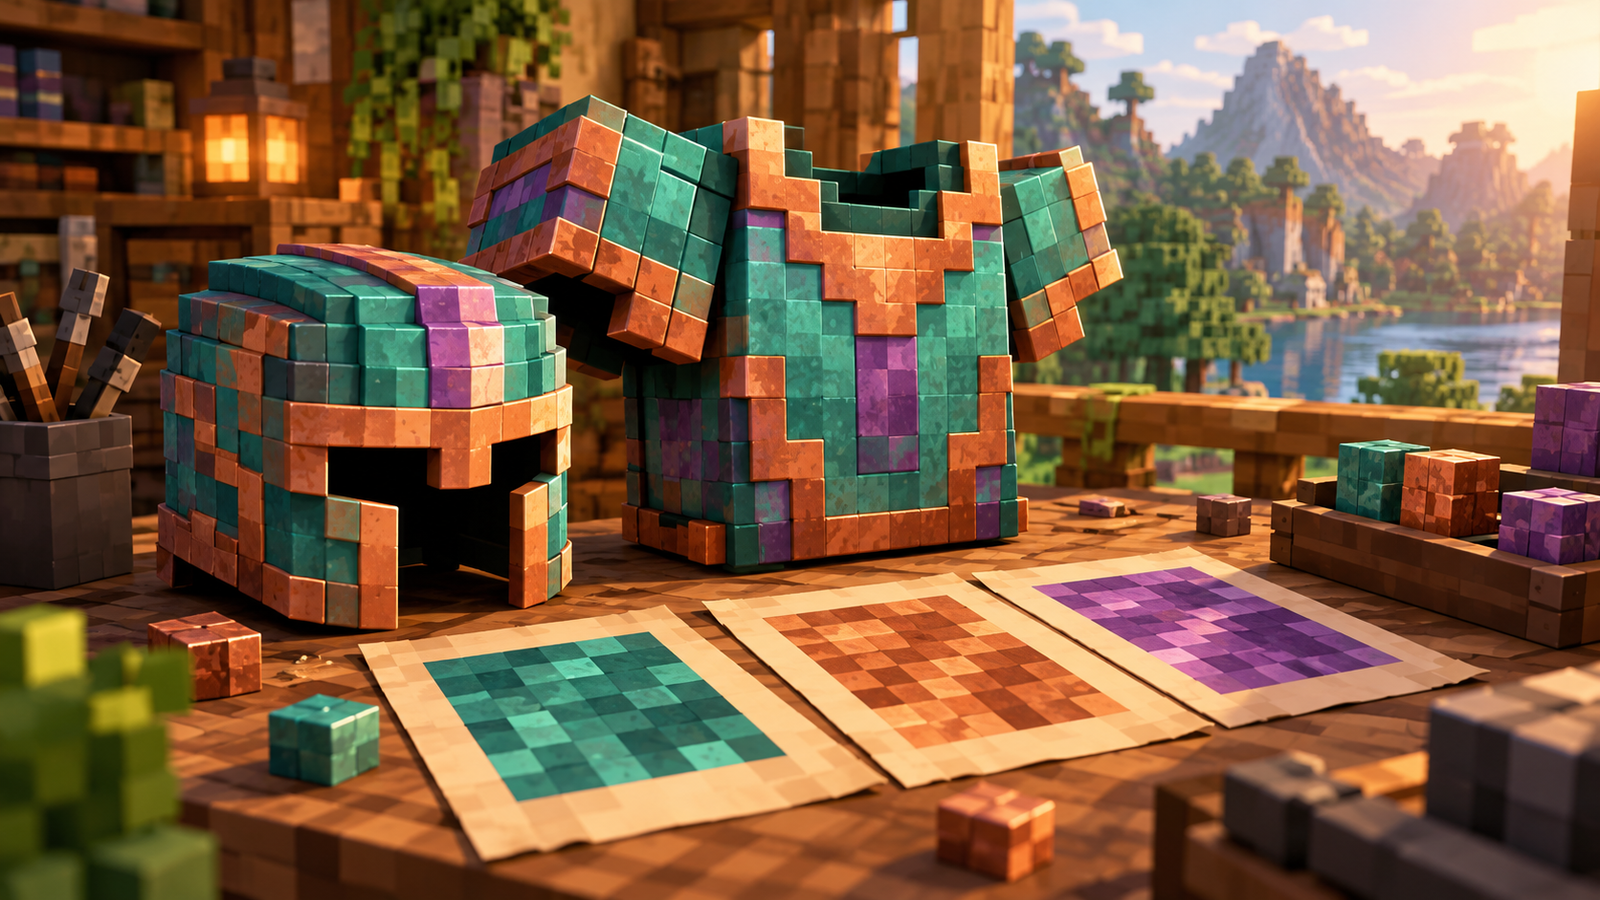
Minecraft’s smithing-table guide explains that a trim uses an armor piece, a smithing template and a material that determines the trim’s color. This is a built-in appearance option, useful when you want a recognizable pattern without installing replacement artwork.
Use a trim template rather than assuming every smithing template has the same purpose. Read the interface preview before taking the result. Plan your materials in a test world if you are still choosing the design, and avoid experimenting with your only valuable survival item until you understand the recipe.
A trim is a cosmetic choice. It is not a shortcut to extra protection, an alternative armor tier or a resource-pack installer. If your goal is a complete medieval suit or a different visual material, examine a suitable resource pack instead of expecting the trim system to redraw the entire item.
Dyeing leather armor is a color change
For Bedrock, Minecraft’s cauldron guide describes adding dye to a water-filled cauldron and using the dyed water to color leather armor. This is useful when the existing leather appearance is fine and you simply want a different color. Use the instructions for your edition rather than assuming the cauldron method applies everywhere.
Choose a resource pack when the problem is the artwork itself. A dye does not install a new texture file, turn leather into diamond armor, or replace the game’s equipment models. If a tutorial mixes dyeing, enchantments and resource packs into one recipe, stop and identify which outcome each step actually produces.
Why the armor texture is not changing
| Symptom | What to investigate | Useful next step |
|---|---|---|
| Pack is missing from the list | Wrong installation, edition or packaging | Read the creator’s install instructions again |
| Icon changes; worn armor does not | Pack may only cover item artwork | Check equipped-armor screenshots and description |
| Only some armor types change | Pack may have limited coverage | Test an explicitly supported armor type |
| Works alone, fails with other packs | Overlapping assets or dependencies | Re-enable packs one at a time |
| Stopped working after an update | Release or resource-format mismatch | Look for a compatible creator update |
| Friend sees default armor | Different client resources | Compare each player’s active pack setup |
Troubleshoot the smallest reproducible case first. Use one supported piece, one pack and the intended version. If that works, add the rest of your setup gradually. If it fails, record the pack name, version and visible error for the creator’s support channel. That information is more useful than a screenshot of several conflicting packs.
For custom authors, avoid copying old armor paths into a current project without checking release notes. Minecraft’s Java 26.3 notes include changes to armor-trim palettes and equipment assets. That is a practical reason to use version-matched references rather than presenting one folder layout as timeless.
Making your own armor pack: a sensible first project
Begin with the correct edition’s official examples and the assets for the release you intend to support. Save an untouched reference copy, then work in a separate project. Change one texture, reload your test setup and check the result before attempting an entire armor collection.
Use a pixel-aware image editor and keep transparency where the source requires it. Maintain clear filenames and a small change log. Test the item in inventory and when equipped, because success in one view does not prove that every related asset works. Document any dependency instead of assuming readers already have it.
“16x” describes texture resolution in pack discussions; it is not an armor crafting ingredient or a new armor tier. You do not craft a higher-resolution suit by adding obsidian to a diamond recipe. Separate artwork decisions from gameplay recipes, and label any concept art so readers do not mistake it for a tested result.
If you plan to share the pack, explain which edition and releases you tested, what armor types it covers, and what remains unsupported. Respect the original artist’s permissions. Honest scope is more helpful than promising that every item, server and future update will work.
When a purchase helps—and when it does not
Only shopping for the base game?
GameSeal’s Minecraft collection contains several kinds of listings, including game keys, account products and extras. A new player can compare a suitable base-game key, but an existing owner should troubleshoot the pack first. Buying the game again will not make an incompatible texture pack work.
Confirm the platform, included edition, activation country and redemption method on the actual listing. We do not recommend buying an account. Do not assume Minecoins, DLC or a spin-off title includes the Minecraft base game or your desired armor pack.
We may earn a commission through this GameSeal link, at no extra cost to you.
Compare Minecraft editions on GameSeal →Before spending anything, compare the editions your friends use and the device you will actually play on. Our Minecraft gift guide is useful if another person will redeem the purchase. Treat a collection page as a starting point for checking a listing, not a guarantee of compatibility or a recommendation for every product shown.
Frequently asked questions
Do I need to buy Minecraft again to change armor textures?
No. If you already own the appropriate game, start with a compatible resource pack or built-in customization method. A second license does not repair a pack-format or version problem.
Can I change armor textures without mods?
A compatible resource pack can replace supported artwork without a gameplay mod. Some special visual features have separate dependencies, so read that particular pack’s requirements.
Will changing my skin change my armor?
A character skin and equipped armor are different visual layers. Choose an armor pack, trim or appropriate dyeing method when the armor itself is what you want to change.
Can a Java armor pack be used directly in Bedrock?
Do not assume so. Use a Bedrock version or a documented conversion process. Changing the archive filename alone is not a reliable conversion method.
Do texture changes increase armor protection?
A purely visual change does not provide a gameplay upgrade. If an add-on changes item behavior, evaluate that separately and check the world or server’s rules.
What should I do if an armor pack breaks after an update?
Disable it in your test setup and compare the default result. Check for a release-compatible update from the creator before changing more settings or removing game files.
Your next step
Already playing? Check your edition, select one compatible armor pack and test one supported item. Want only a pattern or leather color? Try the built-in option first. Keep your backup and restore the previous pack selection if the experiment fails.
Affiliate disclosure: We may earn a commission from purchases through our GameSeal link.
Need the game? Browse Minecraft listings →This collection link is for purchase research. It does not install armor textures, identify a particular texture pack, or guarantee U.S. activation. Verify the exact listing before checkout.
Official references and editorial notes
Updated October 9, 2026. This guide uses official documentation; it does not claim hands-on testing of individual third-party packs.
- Minecraft: Java texture-pack installation route — older official menu instructions, not a recommendation to install the old sample pack.
- Microsoft Learn: Bedrock resource-pack foundations
- Minecraft Help: Activate Add-Ons
- Minecraft: Smithing table and armor trims
- Minecraft: Cauldron and Bedrock dyed water
- Minecraft Java 26.3: resource-pack changes