
Affiliate disclosure: TheGamingKit may earn a commission from qualifying purchases through these links. As an Amazon Associate we earn from qualifying purchases. You can complete this build with the game and equipment you already own.
15 long × 5 wide
75 planks + 30 fences
3 blocks wide
Static bridge, no redstone
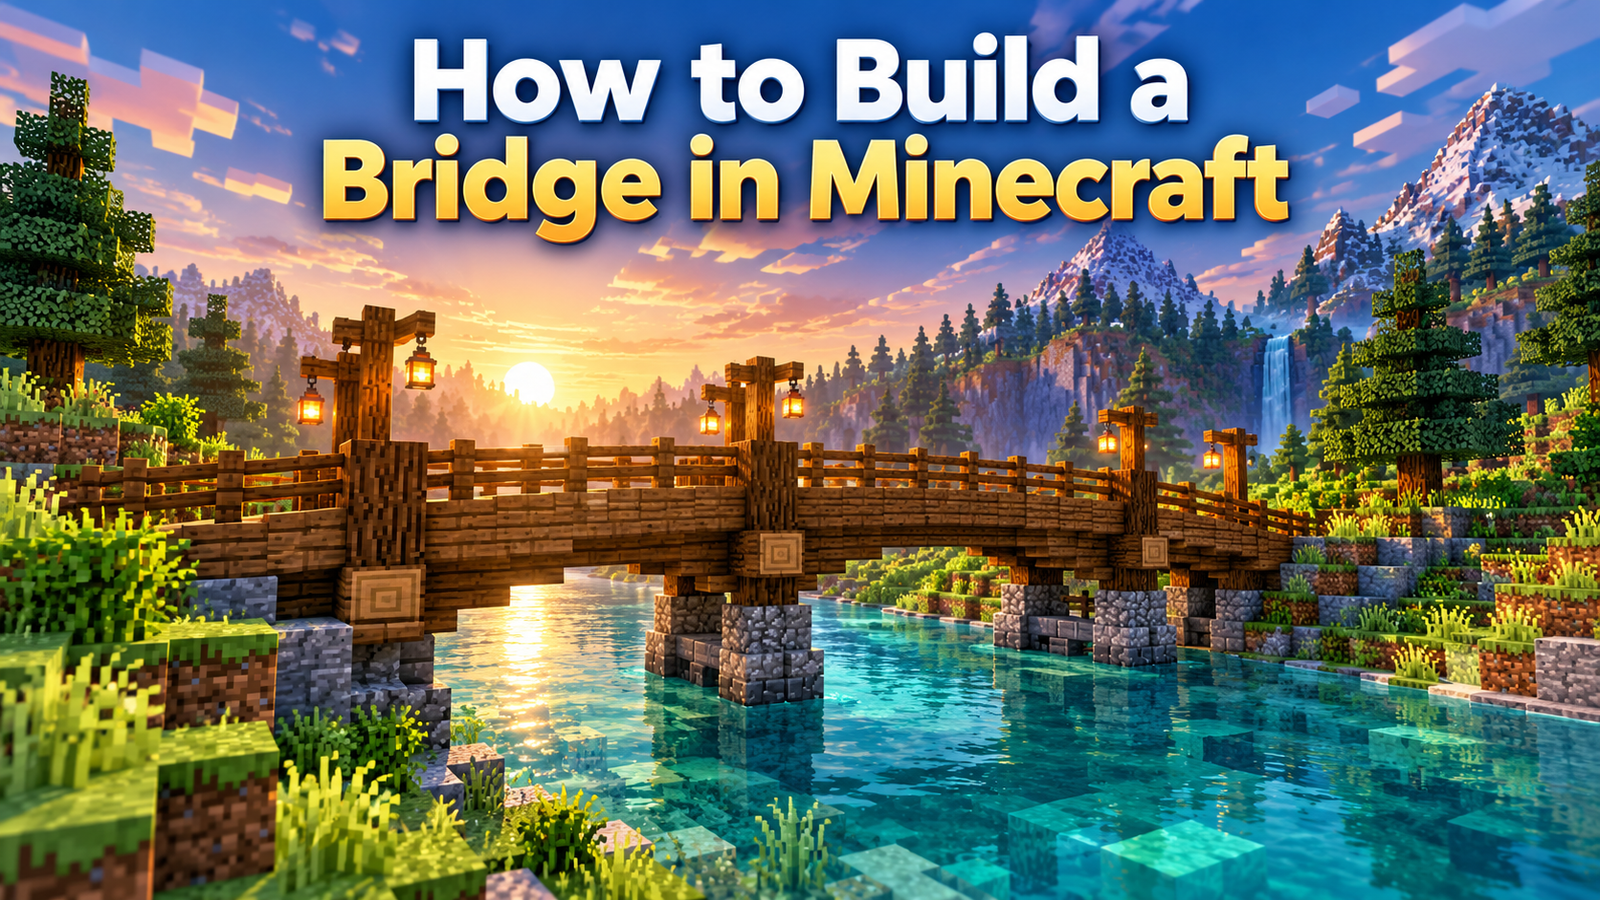
Choose a crossing that fits your world
Start with the route, rather than the decorations. Walk along both banks and find a place where your paths can meet without an awkward turn. A narrow part of the river saves materials, but a slightly wider crossing may look better beside your village. Mark both ends with temporary dirt blocks before you commit to a long structure.
Choose the walking surface height next. The two landing areas should be level for the beginner design below. If one bank is higher, shape a short approach with stairs or raise the lower bank. Keep any boat route in mind: a bridge placed directly on the water can block travel. Leave an open passage beneath it and test with the boat you actually use.
There is no universal bridge size. This guide uses a 15-block-long, five-block-wide deck as a worked example. Its outer two rows carry the fences, leaving a three-block-wide clear path. You can shorten the length without changing that width. For a very small footbridge, a narrower deck is possible, but a one-block path feels cramped once you add railings.
A bridge made from ordinary planks does not need real-world load calculations. Most building blocks stay suspended without support. Sand and gravel are different, so avoid using them for an unsupported deck. Decorative piers make your build believable; they are not a requirement for holding up a plank floor.
Materials for the simple wooden bridge
For the exact flat deck in this example, collect 75 planks: 15 rows multiplied by five blocks. Add 30 matching wooden fences, one along each outer edge for all 15 rows. These counts cover the deck and side barriers only. They exclude approach paths, extra posts, decorative beams, lights and any scaffolding you remove later.
Bring a separate stack of dirt or cobblestone for temporary work. An axe is useful for changing the wooden structure, while a pickaxe helps with stone supports. Food and a way back to shore matter in Survival. Keep expensive equipment at home if you are building over a dangerous drop.
Oak is easy to obtain, and spruce works well for a darker village style. Use one main wood family for your first attempt. A second material, such as cobblestone beneath the landings, creates contrast without making the whole bridge busy. You do not need obsidian, string, special bridge items or mods for this design.
Use your inventory recipe book or crafting table to make planks and fences. Logs become planks through crafting; you do not cut them into sticks with a sword. Wooden fences use planks and sticks. If you want stripped logs for decoration, use an axe on the placed log. Shears are not the tool for stripping bark.
Gather a little extra material before leaving your base. The main deck counts are exact, but uneven terrain may require more landing blocks. It is frustrating to discover that your final approach is three blocks short while standing over a river at night.
Step 1: Mark the deck and build the first row
Imagine your bridge as a rectangle. Its length runs across the water; its width runs across the path. Place the first five-block-wide row on the near bank at your chosen walking height. This is row one of the 15-row deck, not an extra row outside the count.
Before extending it, mark the far landing at the same height. If the actual gap needs more than 15 rows, change the plan now. Count the complete deck length, including whichever landing rows you include in your rectangle. That prevents the common mistake of counting only water blocks and running out at the far end.
Stand on solid blocks and practise your crouch control. On a keyboard, check your assigned key; on a controller or touch device, check the current control layout. Do not assume every platform uses the same button or that crouch is still active after opening a menu.
Place a temporary work platform when the drop is dangerous. Crouching helps with ordinary edge placement, but it is not a substitute for a safe recovery route. Avoid rushing, and do not practise speed bridging above lava while carrying your supplies. A careful first row is much easier to repair than a fall.
Step 2: Extend the deck across the gap
Begin with the central line of the deck. From the edge of the first row, crouch and aim at the exposed side of the block ahead of your placement direction. Add the next plank, then move onto the new section. Repeat until the centre line reaches the far landing.
You can also build from a temporary platform beside the deck if backward placement is uncomfortable. The objective is a continuous path, not a particular technique. Bedrock control schemes may make another placement angle feel more natural. Use a method you can repeat safely before widening the bridge.
Add two plank rows on each side of the central line. The finished rectangle should now be five blocks wide for all 15 rows. Walk along it and look for missing blocks, accidental gaps and uneven edges. A normal walking deck should be continuous; deliberately leaving holes does not help players cross.
Keep the full-block floor for this first build. It gives fences a straightforward base and makes height changes easier to see. A slab deck is a useful later variation, but mixing upper slabs, lower slabs and full blocks without planning can create awkward steps.
Once both ends connect, remove only the temporary blocks that are no longer needed. Leave your work platform in place until railings and lights are finished. That gives you a safe place to stand while repairing the sides.
Step 3: Add railings and comfortable approaches
Place one fence on every deck block in each outer row. That uses 15 fences per side and keeps the middle three rows open for walking. Do not put the railing down the centre of the bridge. Both entrances should remain open unless you intentionally add a gate.
Walk across in both directions. Try turning around in the middle and approaching from the paths on shore. If a decorative post sticks into the walking lane, move it to the outer edge or widen the landing. A bridge can look attractive from the bank while still feeling irritating to use.
Fences provide a useful barrier along the drop. However, missing sections, nearby climbable blocks and unusual movement effects can undermine that protection. Keep the main railing continuous and avoid building steps directly beside it that let you climb over the edge.
Shape the banks so the entrance feels intentional. Replace abrupt dirt ledges with a small path, a few stairs or a wider landing. Three clear approach blocks work naturally with the three-block central lane. Wider entrances are helpful when the bridge serves a busy multiplayer village.
If you regularly move horses, mules or other mobs, test the crossing with them. Width alone does not prove the route is comfortable. Check gates, overhead decorations, turns and the far exit. Make changes before calling it your main transport route.
Step 4: Give the bridge believable supports
For a small river crossing, add paired posts beneath the outer edges near each bank. Use logs for a wooden style or cobblestone for a sturdier-looking base. Continue each post down toward the riverbed where practical, keeping the centre passage clear if you want boats underneath.
Intermediate piers can make a long bridge look balanced. Decide their spacing from the overall length, then mirror it on both sides. Do not place every support first and discover later that they block the river. A single central pillar may look fine for a footbridge, but it can be awkward for boats.
Log beams along the underside help visually connect the supports and deck. Orient the logs consistently by placing against the appropriate face. If a beam faces the wrong way, break and replace that block rather than hiding the mistake behind many extra decorations.
These supports are decorative for ordinary plank construction. Vanilla Minecraft does not simulate a wooden bridge collapsing under player weight, and ordinary river water does not wash away stone piers. Choose materials for appearance, availability and relevant hazards such as fire, rather than imagined engineering rules.
Work on the underside from a safe bank or temporary platform. Avoid unnecessary underwater work in early Survival. If reaching the riverbed is difficult, a simple bridge with neat landings is still a complete build. You can improve the supports after you have better tools.
Step 5: Add lighting without cluttering the path
Place a light near each entrance first. Then look at the middle of the bridge at night and add more lights where the route feels dark. Torches are inexpensive; lanterns fit a village bridge well if you have the materials. Mount them on side posts rather than placing them where players walk.
Keep the posts consistent. For a 15-row deck, matching posts near the two ends and around the centre make a simple rhythm. Treat that as a design suggestion, not a guaranteed lighting formula. Exact coverage depends on the light source, height and surrounding surfaces.
A lit bridge is easier to see, but lighting does not keep every hostile mob away. Mobs can approach from unlit banks, and existing mobs do not disappear because you added a lantern. Improve the connecting paths as well, especially if the crossing leads to your home.
Decorate in small passes. Add a little stone around the landing, a few leaves beside the bank or trapdoors along a beam. Stand back after each change. If the silhouette disappears beneath decorations, remove some pieces instead of adding more.
Keep the walking lane and boat opening clear. Hanging features may look good in an image but obstruct movement in your world. Functional clearance should be checked after decorating, because that is when accidental obstacles usually appear.
Wood, stone or slabs: choose the right variation
A wooden bridge is a good first project near a forest or farm. Planks, fences and logs use resources you can gather nearby, and the palette suits paths and houses. Ordinary Overworld wood is vulnerable to fire, so it is a poor choice immediately beside exposed lava or another fire hazard.
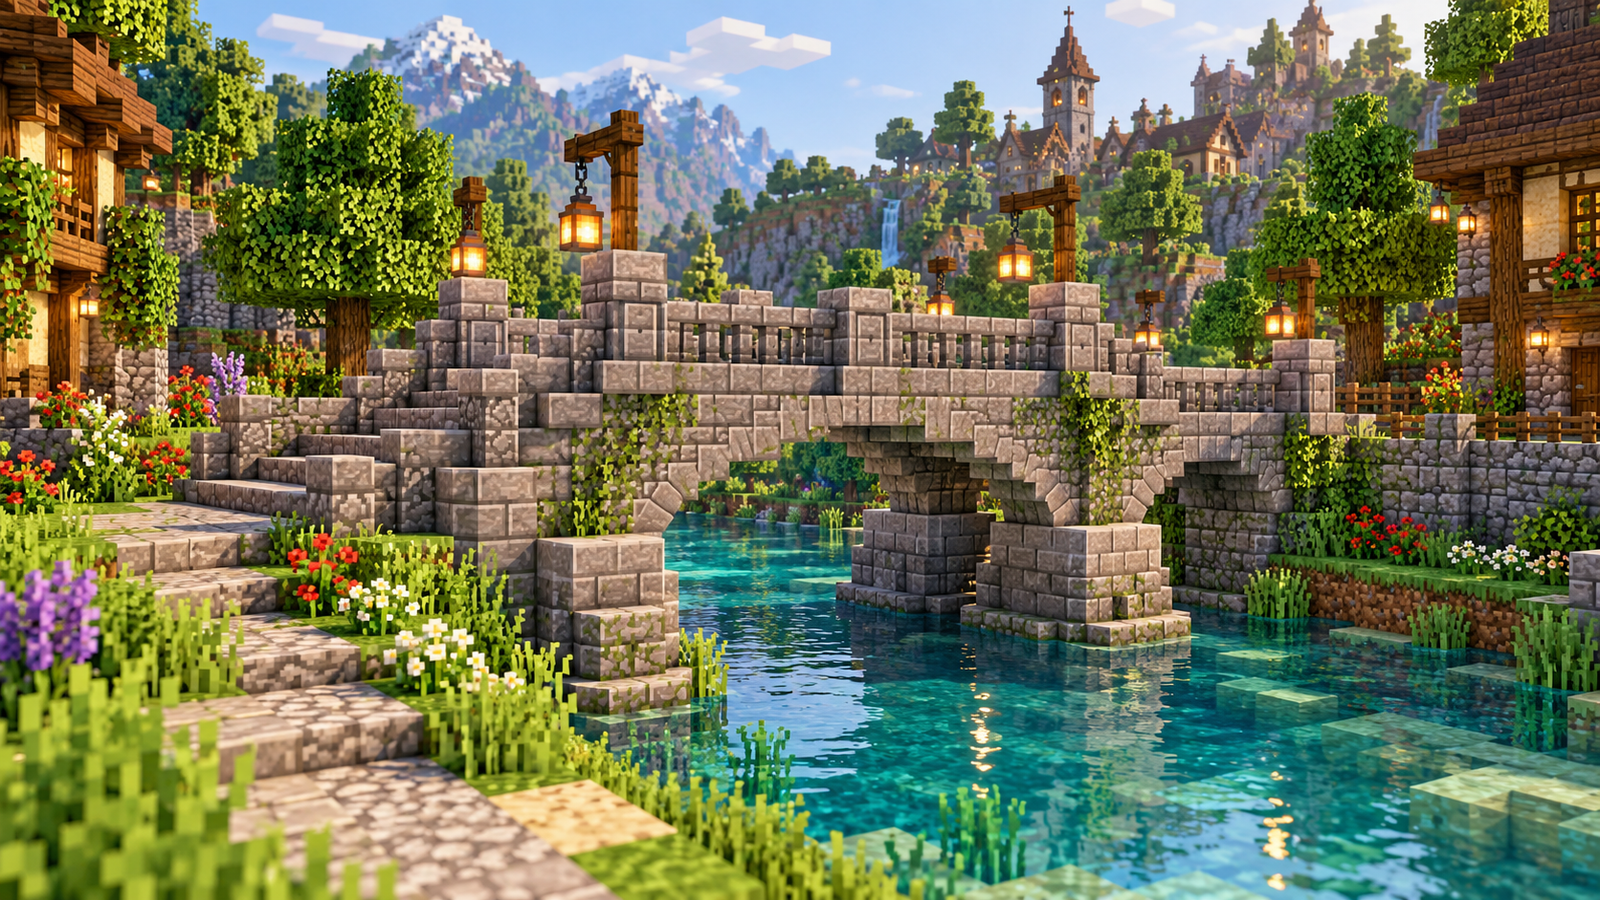
A stone bridge works well near a castle or mountain base. Keep the same flat five-block deck at first, replacing planks with your chosen stone blocks and fences with suitable walls. Stone bricks, cobblestone and deepslate give different textures. Mix two related materials in modest amounts rather than scattering every block you own.
For an arched appearance, decorate beneath the deck with stairs and slabs arranged symmetrically. A flat walkway above a curved underside is easier than making the entire walking surface rise and fall. Build one half of the arch, count its steps, then mirror the other half.
Slabs can make a bridge look lighter and reduce the material needed for a floor. Their placement height matters: a bottom slab and a top slab do not create the same walking level. Prototype one section on land, including the fence or wall connection and approach, before replacing the full deck.
A suspension-style bridge can use fence or wall lines and curved decorative elements to suggest cables. These do not physically carry the deck. The detail is visual, and a decorative suspension bridge is still built block by block. You do not tie logs together with string to create a special structure.
Survival, Creative and multiplayer differences
In Creative, prototype the proportions before you add texture. Flight makes the underside easy to inspect, and unlimited blocks let you compare two palettes quickly. Save a version of the simple shape so you can return to it if later decoration makes the build worse.
In Survival, finish a usable crossing before spending resources on arches and elaborate posts. Bring enough basic blocks for both the deck and a return route. If you are building over a ravine, recoverability matters more than symmetry during the early stages.
The basic static design uses common blocks and can be adapted to Java or Bedrock. Controls and placement behaviour should be checked on your device. On a server, land claims or protection plugins may prevent placement even when your materials are correct; ask the owner or check the claim rules.
Moving bridges are a separate project. Pistons, sticky pistons and redstone can move limited arrangements of blocks, but a reliable mechanism needs a specific design for your edition. Do not assume a Java tutorial will behave identically in Bedrock.
Obsidian does not explode when lit with flint and steel, and setting wood on fire is not a drawbridge mechanism. Keep the static beginner bridge free of redstone. If you want a retractable crossing later, test the mechanism in a copy or Creative world before building it beside important structures.
Troubleshooting and final crossing test
If the bridge looks too bulky, remove some decorative layers beneath the deck before narrowing the walking space. The path is the part you use. A thinner silhouette can come from stairs, slabs and fewer posts without turning the route into a one-block balance beam.
If fence connections look strange, inspect the base blocks and the adjacent blocks. Mixing different barrier types or slab heights can change the appearance. Rebuild a small test section on shore, then repeat the pattern only when it looks right.
If boats hit the underside, increase the clearance or move the piers. Do not estimate only from shore: ride the boat through the actual opening. The water surface, slab height and hanging decorations all affect the route.
If the far entrance is awkward, improve the bank rather than forcing the bridge to end at a steep ledge. A short landing and a straight path often solve the problem. Keep at least the main walking lane clear of trees, walls and storage.
Before you finish, cross the bridge in both directions, inspect every railing section, and check the approaches at night. Remove temporary scaffolding only when it is safe. Keep a world backup before a major rebuild on a shared server, particularly if you plan to change the river or nearby buildings.
Bridge material comparison
| Material | Good fit | Check before building |
|---|---|---|
| Wooden planks and fences | Forests, farms and village paths | Fire hazards and continuous railings |
| Stone blocks and walls | Castles and mountain routes | Resource cost and clear boat passages |
| Slabs and stairs | Lighter decks and decorative arches | Placement height and smooth approaches |
| Temporary dirt or cobblestone | Work platforms and markers | Safe removal after the permanent build |
Frequently asked questions
How many blocks do I need for a simple bridge?
The example here uses a 15-by-5 full-block deck: 75 planks and 30 fences. Approach blocks, supports, lights and temporary platforms are extra.
Do Minecraft bridges need pillars?
Ordinary planks and stone blocks stay in place without pillars. Supports are mainly decorative. Falling blocks such as sand and gravel are unsuitable for an unsupported deck.
Can I build the same bridge in Java and Bedrock?
The static design uses common blocks in both editions. Check your placement controls and test any later redstone mechanism in the edition you play.
How wide should the bridge be?
Five blocks overall leaves a three-block path when fences occupy the outer rows. Narrower bridges suit short footpaths; transport routes may need more room.
Can I use slabs instead of planks?
Yes, but prototype the slab height, railings and approach first. Upper and lower slabs create different levels and can change how neighbouring blocks connect.
Will a wooden bridge collapse under players?
Vanilla Minecraft does not simulate player weight causing a plank bridge to collapse. Fire, explosions, missing blocks and other hazards are separate concerns.
Do I need mods or a special bridge recipe?
No. Build the beginner design by placing ordinary blocks. There is no single vanilla crafting recipe that produces this complete bridge.
Are the pictures exact build blueprints?
No. They are AI-generated concept illustrations for inspiration. Follow the measured flat-deck instructions for the reproducible beginner build.
Related guides and official references
Building on a shared server? Read our Minecraft server backup and restore guide before a major rebuild. For edition differences, see our Java and Xbox cross-play guide.
- Minecraft: fence crafting and barrier behaviour
- Minecraft: crouching and bridge placement techniques
- Minecraft: slab placement and building uses
These references explain the underlying blocks and placement techniques. The dimensions, palette suggestions and step sequence above are our own starter plan.