
Affiliate disclosure: TheGamingKit may earn a commission from qualifying purchases through these links. As an Amazon Associate we earn from qualifying purchases. No purchase beyond your existing game is needed for this starter plan.
64 × 64 blocks
One complete street
7 road + 3 sidewalk per side
Ordinary blocks; no mods
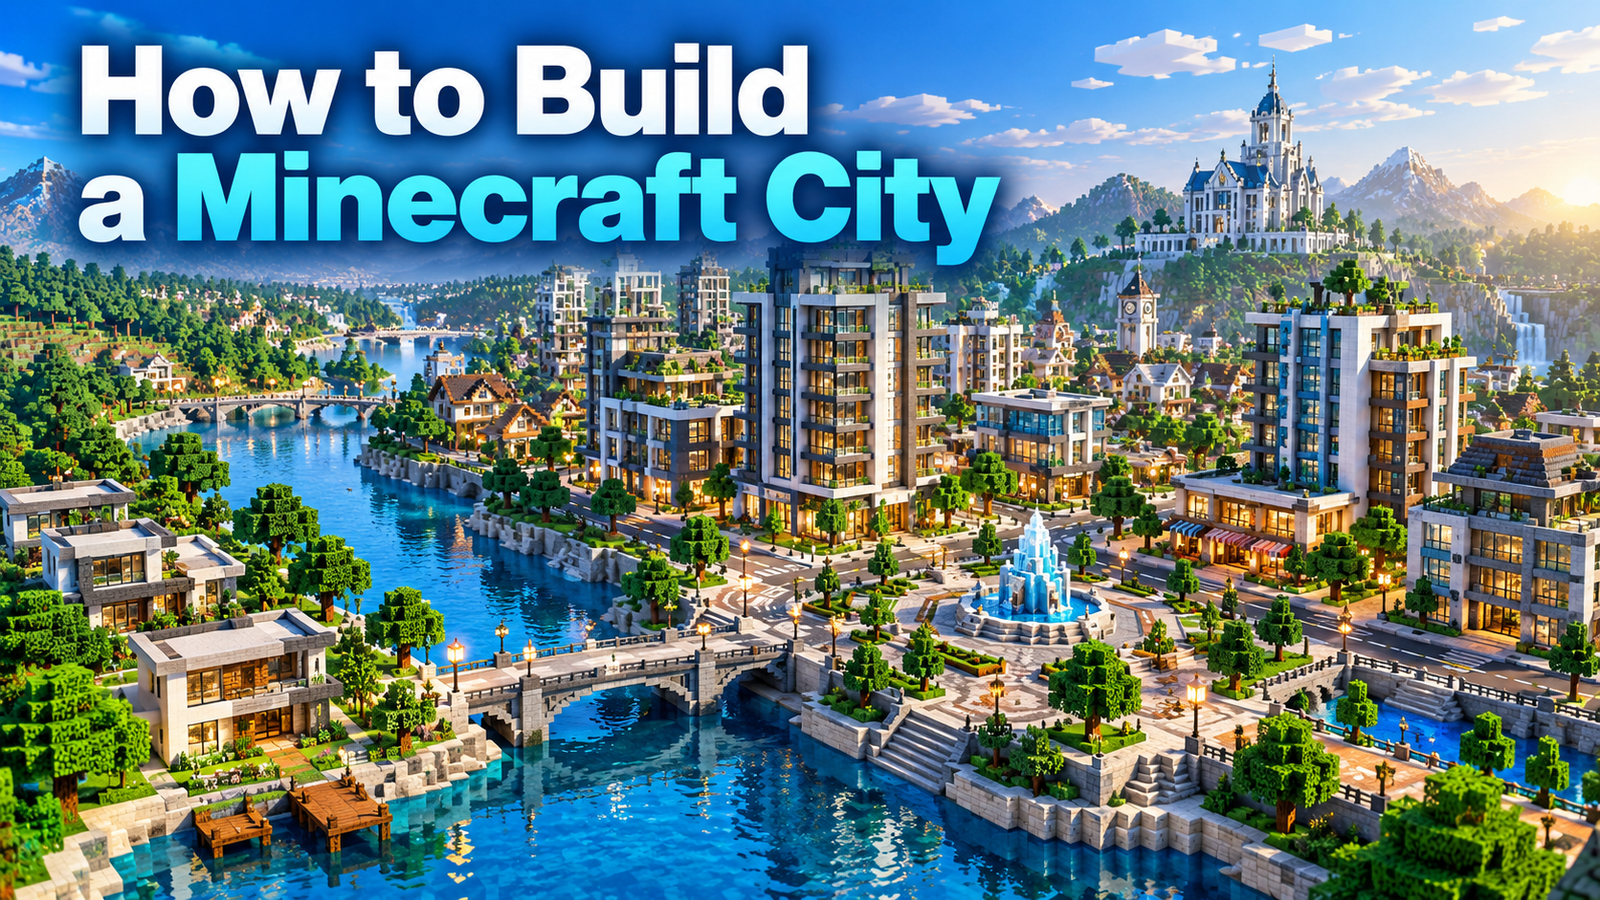
1. Pick a city style and a finishable first milestone
Before choosing blocks, decide what kind of place you are building. A modern downtown, a medieval market city and a coastal town use different street widths, roofs and skylines. Write one sentence describing the project. For example: “A compact riverside city with brick shops, a public square and a small modern business district.”
Then define what counts as the first finished version. Three complete buildings connected to one attractive street are a better starting milestone than twenty empty towers. Give yourself a useful district that can stand on its own even if you pause the project for a month.
Choose a scale that matches your play style. A player-scale city has doors, corridors and rooms that feel comfortable to walk through. A skyline built mainly for distant views may use compressed interiors. Both approaches work, but mixing them accidentally produces enormous roads beside tiny homes.
For this guide, the first milestone is a 64-by-64-block planning area containing one main street, two short side streets, several modest building plots and a small public space. This is a suggested project boundary, not a mandatory Minecraft measurement. Expand only after the first block feels complete.
2. Choose Creative or Survival before gathering supplies
Creative is the straightforward choice when your goal is architecture. Access to building materials and flight lets you test layouts without repeatedly returning to storage. A separate Creative test world is also useful if your main city will eventually be built in Survival.
Survival changes the project budget. A palette that looks simple in Creative may require a large supply of concrete, glass or copper. Start with materials available near your base, then introduce rarer accents slowly. Keep a crafting area and organized storage close enough that building does not become constant travel.
You do not need a mod, paid texture pack or new computer to follow this plan. Build a small test area with your current setup. If performance becomes a problem later, measure what causes it before buying equipment or installing extra software.
On a multiplayer server, confirm where you may build and how protected land works. Coordinate the style and street directions with other builders. A shared city needs an agreed boundary and a simple naming system for plots, even when everyone is working informally.
Changing modes, enabling cheats or installing tools can have consequences for a world’s settings or achievements depending on edition. Check the relevant settings before changing an existing world. The core layout below can be built manually without commands.
3. Find land that supports the layout
Explore before clearing a huge rectangle. A plain gives you easier construction; a river or coastline gives the city a natural edge and a reason for bridges, quays and parks. Gentle slopes can create attractive neighborhoods if you follow the terrain instead of flattening everything.
Mark the 64-by-64 planning boundary with temporary blocks. Leave room beyond it for future roads. Avoid placing a permanent landmark directly against the boundary unless it is meant to become the edge of the city, such as a harbor wall.
Check the land from walking height as well as above. A hill that looks tiny from the air may require several stair flights. Mark the heights of major intersections and entrances before excavating. Fixing a street’s elevation is easier while the buildings are only outlines.
Preserve one or two natural features. A bend in the river, a patch of trees or a rocky rise can become a memorable public space. A city does not need to be a perfect square grid to feel organized.
In Survival, inspect nearby hazards and establish a safe place to sleep and store supplies. Do not begin a large demolition beside your only storage room. Back up important worlds before substantial terrain changes, especially on a shared server.
4. Lay out roads before building towers
Use temporary colored blocks to draw road edges, plot corners and public spaces. Treat this as a draft that can be moved. You are checking whether the city fits, not committing to the final pavement.
For a modern starter street, try a seven-block carriageway with a three-block sidewalk on each side. The total corridor is thirteen blocks wide. These are design suggestions, not a real traffic standard or a game requirement. A medieval lane can be much narrower, while a central boulevard may need more space.
Build a short sample first. Add one junction, one entrance and a streetlight so you can judge the proportions. If the road feels wider than every nearby building, reduce it now or reserve the wide road for the business district.
Keep side streets connected to meaningful destinations. A road that ends at a park, a station or a plaza feels intentional. A road that ends at a blank wall usually needs a revised plot layout.
Remember that decorative cars do not make ordinary roads a driving system. Vanilla building blocks can suggest vehicles, but functioning vehicles require a separate supported mechanic or add-on. Design the basic city for walking first, then decide whether minecarts or another transport system belong in it.
5. Divide the city into small districts
Give different areas a purpose. Your first city might have a residential block, a shopping street, a civic square and a riverside park. You do not need every district at full size immediately; a few reserved plots are enough to preserve the plan.
Place quieter homes behind the busy main street. Put taller buildings where they create a useful skyline rather than placing the tallest tower in every corner. A clear change in height makes the city easier to understand.
Leave open spaces between important buildings. A town hall benefits from a square, and a station needs room for arriving players. Filling every available block with a structure often makes the city feel smaller, not larger.
Try building a transition rather than a sharp boundary. Small shops can lead into apartments, then into taller offices. Repeat a pavement material or tree type across those areas so they still belong to the same city.
If several friends are helping, assign plots and record a few common rules: road height, sidewalk width and the main palette. Builders can still vary their houses, but the shared infrastructure should connect cleanly.
6. Create a small block palette and prototype one house
Choose a main wall block, a contrasting frame, a roof material and one accent. Brick with stone trim, dark wood and muted glass is one possible combination. Place sample blocks together in daylight before you use them across a whole street.
Build one complete small house or shop on a test plot. Include the rear wall, roof, doorway and a usable room. A detailed front without a planned back can turn into an awkward box as soon as you move around it.
For a modest example, outline an eleven-by-fifteen exterior footprint. Keep the roof and room layout in mind while positioning windows. This size is an original starter suggestion; adjust it to your preferred style and available plot.
Test floor height from inside. A room that looks generous from above can feel low when you add a ceiling and lights. Put a doorway, staircase and a few furnishings in the prototype before repeating it.
Keep your first material palette simple enough to maintain. You can add texture variation later, but every wall does not need a random mixture of five blocks. Repeat the main materials where they help the street feel coherent.
7. Build a complete street, then vary the buildings
Finish one section of pavement, its adjacent buildings and the small spaces between them. This gives you a reliable template for the next block and a satisfying place to walk through while the rest of the city is unfinished.
Reuse proportions rather than copying every facade. Keep a consistent floor height, then vary building width, roof direction, window spacing or the position of the entrance. Small changes create variety without forcing you to invent a new structure every time.
Use corners deliberately. A corner shop, a rounded stair facade or a small courtyard can turn an intersection into a recognizable place. Check the side of the corner building from the cross street; it should not be an unfinished blank wall.
Add alleys or rear access where they serve the build. They can lead to storage areas, small gardens or a service courtyard. Avoid narrow dead spaces that exist only because two oversized buildings were squeezed together.
Do interiors in layers. Complete public rooms and places you will actually use first. You can reserve upper floors for later, but keep access believable. The city will feel more complete with several useful ground floors than with one fully furnished tower surrounded by empty shells.
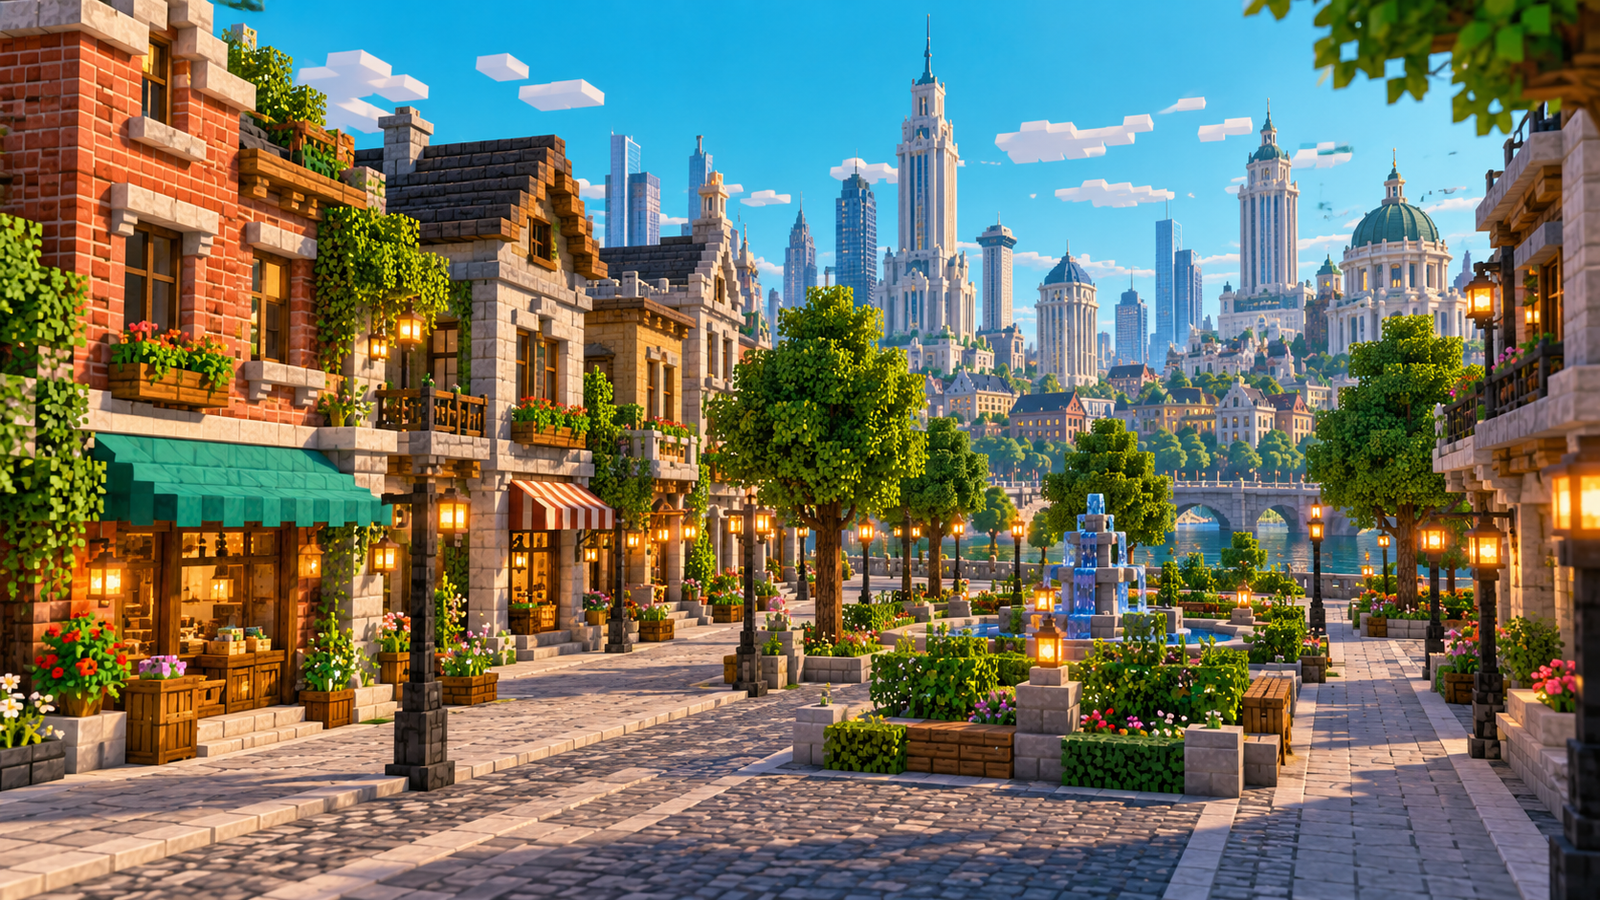
8. Add landmarks, parks and street details
A landmark helps players navigate. Choose one focal point for the first district: a town hall, clock tower, library, station or distinctive plaza. Give it enough open space to be seen from the main street.
Parks provide a break between buildings. A small lawn, a path, benches made from suitable blocks and a few trees can be enough. Keep entrances visible and leave walking room around decorations.
Lighting belongs to both appearance and usability. Place lights at entrances, intersections and public spaces, then inspect the district at night. Decorative greenery alone does not prevent hostile mobs from spawning; assess spawnable surfaces and lighting separately in the version you play.
Street details should support the scale. Bins, planters, awnings and lamp posts work best when they leave the sidewalk usable. If walking through the street requires constant dodging, move the props toward the edge.
Create a waterfront only if you can connect it properly. A quay, bridge or riverside path should meet the city roads at a comfortable level. A beautiful river edge that nobody can reach is a backdrop rather than a working part of the city.
9. Make the city feel inhabited without promising automatic NPCs
Start with activity areas that players can use: a storage hall, workshop, map room, market stalls or a community meeting space. These places give the city a purpose beyond its skyline.
Villagers are not generic citizens who automatically follow every imagined role. Their behavior depends on game mechanics, available beds and workstations, movement paths and the edition. A decorative office building does not become a working business simply because you put a villager inside.
If you add villagers, start with a small area and observe it. Keep routes safe and avoid crowding large numbers of entities into a decorative district. Mobs, item frames and other entities can add performance cost as the city grows.
Custom quest NPCs, traffic systems and scripted shops are separate features. Some require Education features, server plugins, mods or add-ons rather than a universal vanilla command. Check the exact tool, edition and permissions before installing or following a tutorial.
There is no standard vanilla Minecraft /city command that generates this project. A server may define its own command with that name, but that does not make it part of every Java or Bedrock world. You can build the full starter neighborhood manually.
10. Expand carefully and keep the world manageable
Before adding another district, walk through the first one from each entrance. Look for unfinished backs, missing railings, awkward stairs and paths that stop unexpectedly. Fixing a small neighborhood teaches you more than stretching the same problems across a much larger map.
If performance slows down, compare a view of the city with a quieter area. Try lower render distance and appropriate graphics settings, then check whether dense entities or complex contraptions are concentrated in one place. Do not assume that a large building made from static blocks is the only cause.
Add advanced tools only when you understand the problem they solve. World editing tools and structure workflows vary by edition and installation. Make a backup and test in a disposable copy before using a bulk action near finished buildings.
Save progress at meaningful milestones: completed road network, first street, finished district and major expansion. On a shared server, agree on who maintains backups and how to restore them. A backup you have not checked is a weaker safety net than a verified recovery copy.
Take screenshots from the same viewpoints after each milestone. They help you see whether the skyline, street proportions and palette are improving. Keep a short next-session task list so returning to the city does not mean deciding everything again.
A practical five-session starter plan
Use your first session for the theme, boundary and rough road layout. The goal is a plan you can walk around, not polished pavement. Mark the public square and the plots you want to build first.
In the second session, test the road cross-section and complete one prototype building. Fix the roof, entrance and interior scale before repeating any part of it. Record the main materials so the next building belongs to the same street.
Use the third session to finish two neighboring buildings and the sidewalks between them. Make one a little wider or give it a different roof. Keep the street connected while you experiment with its character.
In the fourth session, add a small park or civic square, lighting and a single landmark. This is when the neighborhood begins to feel like a place rather than a collection of isolated structures.
Use the fifth session for a walking inspection and repairs. Finish visible gaps, test the routes at night and remove temporary markers. Session length is up to you; this sequence is a planning aid, not a promise that an entire city takes five evenings.
Starter city checklist
| Part | Starter target | Check before expanding |
|---|---|---|
| Planning boundary | 64 × 64 blocks | Space for future road connections |
| Main road | 13 blocks including sidewalks | Comfortable entrances and junctions |
| Prototype building | Try an 11 × 15 footprint | Roof, rear wall and usable interior |
| First neighborhood | Several buildings and one public space | Complete routes, lighting and consistent scale |
| World safety | Backup at major milestones | Recovery method checked before bulk edits |
All dimensions are starting suggestions. They can be changed before permanent construction begins.
Frequently asked questions
What should I build first in a Minecraft city?
Start with the road layout and one complete prototype building. Finish a short street with a few buildings and a public space before expanding.
Is Creative or Survival better for a city?
Creative makes architectural testing easier. Survival is suitable if you enjoy collecting resources and building in stages; choose a palette you can supply.
How wide should my city roads be?
As a starter example, try a seven-block road with three-block sidewalks on each side, for thirteen blocks overall. Adjust this to your scale and theme.
Can one command create a whole city?
There is no standard vanilla /city command. A particular server plugin or generator may offer its own commands, which must be checked separately.
Do I need mods or a paid texture pack?
No. The starter plan uses ordinary blocks and manual building. Optional tools and packs change the workflow or appearance, not the need for a coherent plan.
How do I stop every building looking the same?
Share a main palette and floor height, then vary widths, entrances, roof shapes and window patterns. Keep the sidewalks consistent.
Can villagers automatically run the city?
No. Villager behavior follows Minecraft mechanics. Custom scripted citizens, shops or quests may require separate edition-specific features or tools.
Are the images exact build instructions?
No. Both are AI-generated concept illustrations. The measurements in this article are starter design suggestions, not a block-for-block reproduction of the images.
Related guides and references
Connecting two districts across water? Follow our Minecraft bridge building guide. Before major changes on a shared world, review our server backup and restore guide. For multiplayer hosting choices, see Minecraft Realms vs server.
- Minecraft: planning, palettes and building detail
- Minecraft Education: City Planner road and building exercises
- Minecraft Help: game modes
The Education resource provides planning inspiration; its coding features are not a requirement for this ordinary Java or Bedrock build. Our layout, starter dimensions and session plan are original suggestions.